Showing posts with label DIY. Show all posts

February 4, 2013

Cleaning and Hard Lessons to Learn

Hello Everyone! 
I hope you are all having a great week thus far. How can we have a bad week when we can look around and see just how blessed we are?

Since my last post, I've had a chance to travel  I went to a sustainable agricultural conference in Arkansas. (Little Rock has a really cute downtown area) At this conference, I got the chance to interact with growers.This conference was quite different from the typical grower conferences that I attend because the attendees were not typical growers. This conference is for "specialty crops" which include fruits, vegetables, organic production practices, and sustainable production practices and generally smaller operations.

I had to learn a hard lesson of accepting those who a bit different from me. The growers at this conference were primarily "historically under-served"  growers (which means the group that has not always received help from the government agencies like Extension and are primarily African-American from my experience), and what my friend, Aaron (he's from California so that makes this ok) "hippy" types. All of these people are very different from me, and it was hard trying to fit in with them. We all dressed very differently, so I felt like I stuck out like a sore thumb (I absolutely did). I've never had people not want to talk to me and not act like gentlemen/ladies in the South before. Normally, I can find anyone to talk to but this time it was hard for me. Mama and Grandpaw (Mama's daddy) have always said that I have trouble talking to people who are different then me, and I never believed them until now. I was finally in a place that was way out of my box, and I couldn't hardly talk to anyone without immediately judging them. I know that God accepts everyone, so why is so hard for me to accept people who are different from me? I'm working on this. 

Another thing I'm working on is having a clean house. I despise cleaning my house or anything actually. You can ask my Mama. Actually... you better not ask my Mama. She may be a bit too honest when it comes to my cleaning habits. I can fix this problem a bit more easily than my problem with acceptance. Drum roll please......

I MADE A CHORE LIST!! 

I hated chore lists growing up, and I had a hard time sticking to those...even the cute ones with the stickers that I got to put on the chore after I finished it. I made this quick and easy to follow list that takes me about 5 minutes a day (this doesn't count the washing dishes part because most people...besides me... have a dishwasher). 

I am posting the picture on the site. If you want, I can post a blank one for you guys use if you, too, have trouble keeping up with cleaning your house or want to do something other than cleaning your house all day on Saturdays or in the 10 minutes before someone arrives for a visit. 


I hope you guys enjoy! Please let me know what you think of the new design and if you'd like a blank chore schedule.

Remember, pretty is as pretty does!

-McKenzie

October 19, 2012

Savin' the Big Bucks

Hi Everyone! I am so sorry it has been so long since my last post. I know y'all must be so tired of hearing that. Grad school has taken over my life these days which definitely makes life a bit tougher. Today, I want to share a little something that has been making my life easier for well over a year now and helps me save a ton of money each month. Drum roll please.....

Laundry Detergent! That's right! The stuff you wash your clothes in. This may not seem like too big of a deal to you right now, because at this point, I'm sure you don't pay much attention the cost of how much it costs you to do 32 loads since you just have to buy the stuff once a month anyway. 

In economics, we call things like this necessities or normal goods. You have to buy them, and as your income increases you buy more (or better) of the product. When you're really pinching pennies you buy the generic brand and then when your income increases to a certain point you switch to Tide with Febreeze.

Last year when I was living along, I used about 6 gallons of laundry detergent. Guess how much it cost me?? $0.001 per load with leftovers to last me until about two weeks ago. I made exactly a year's worth of detergent for less than $5.00. Obviously, this will not last a family of 4 for a whole year, but it surely will cut down your costs, and once you make it, you'll be happier than a pig in mud. After I made my first batch, I called my now Mother-in-Law to give her the recipe. She made it and loved it so much that she prefers it to other detergents. 

Here's the great thing about this detergent. You can completely customize it. If you like your laundry to smell wonderful after you've washed it, you can add essential oils (for a break down on what essential oils are, see One Good Thing by Jillee) or Purex crystals (in the laundry isle). If you have small children who tend to get their clothes pretty messy, you can add OxyClean. If you have sensitive skin, you can replace Fels-Naptha with a bar or two of your favorite soap (I usually use 2 bars of Ivory or 1 bar of Dove Sensitive Skin). This soap is perfect for both top-loading or front-loading machines!

I make this soap liquid because I think it breaks down better in the washing machine better than dry

 Here's how you do it:

The Duggar's Homemade Liquid Laundry Soap

(Makes 5 gallons of concentrated soap=10 gallons of regular laundry detergent)
4  Cups - hot tap water
1  Fels-Naptha soap bar
1 Cup - Arm & Hammer Super Washing Soda (NOT BAKING SODA)
½ Cup Borax

1 5 gallon bucket 


First, grate your bar(s) of soap. You can also use a food chopper or a food processor to speed things up. 


 Add the grated soap to a large pot with the 4 cups of hot water.


Stir constantly over medium heat until the soap has dissolved. You don't want this to boil (but it is okay if it does). 
When the soap dissolves, take it off the heat. Add the washing soda and borax to your 5 gallon bucket.
Add the hot melted soap, and stir until the borax and soda are dissolved. 

Now, add more hot tap water until the bucket is as full as you can get it. It will get nice and foamy.
If your bucket has a lit, put the lid on it. If it doesn't (mine doesn't), just cover it with a kitchen towel. Now you'll have to wait for about 24 hours for the soap to set up. 

You'll wake up to 10 gallons of laundry detergent! I transfer my detergent from the bucket to old milk jugs for easy storage. I just fill the milk jug up with the concentrated detergent, and when I transfer it to an old, rinsed out laundry soap container (use your last Tide bottle to give it a last laugh that it won't be getting any more $$$ from your purse anymore).  Fill your container 1/2 with the concentrated soap and 1/2 with water. 

Use as much detergent as your would of your old soap.  And voila! Cheap laundry detergent just as good as the store bought stuff for a fraction of the cost!

Now that you have stuff to clean your laundry with, you'll need to make sure your towels come out soft. If you thought that laundry detergent was a drain on your wallet, fabric softener is just a thief. Here's how to make your own! 

Fabric Softner

You'll need: 

A really big bowl
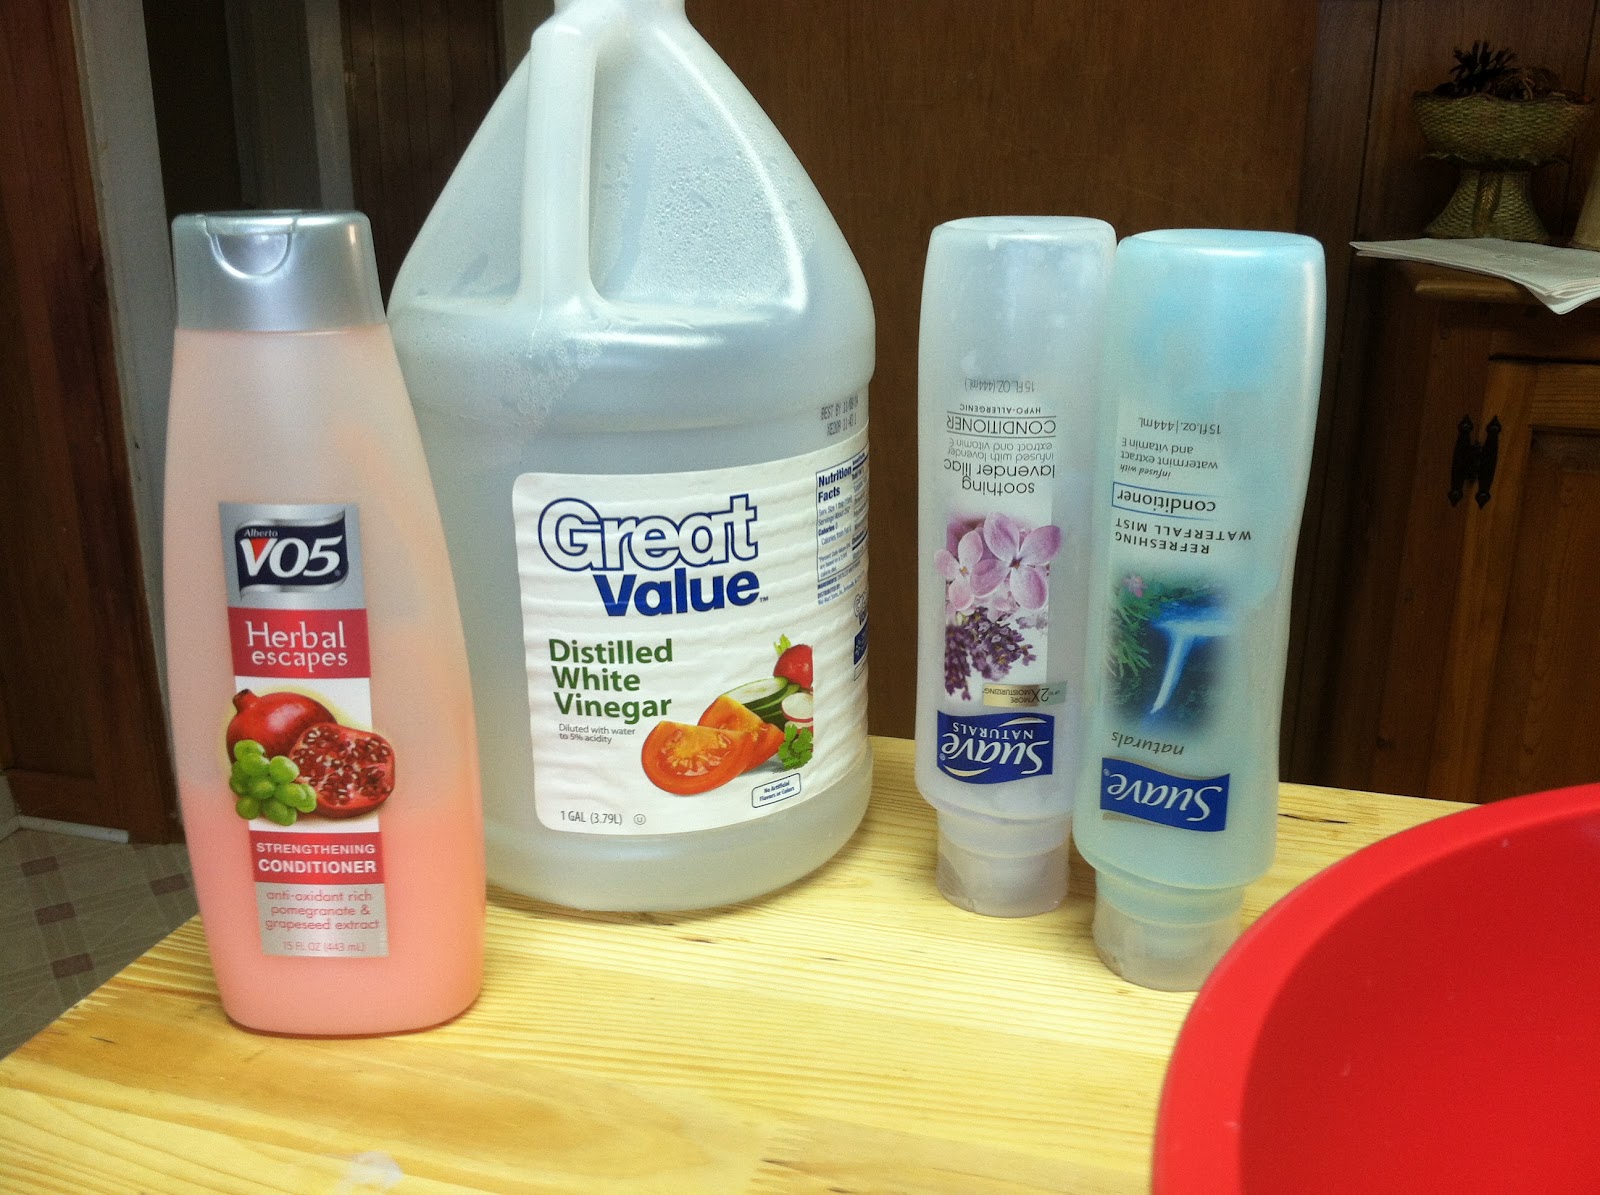
2 cups of Hair Conditioner (I use whatever is less than $1)
3 cups white vinegar
6 cups of HOT water

Mix the conditioner and HOT water up in your really big bowl. 

Once it dissolves, add the vinegar. You're done!! Transfer this to a container and use whatever amount you normally do for your laundry. I use my Downy Ball and fill it to the full line. 

Enjoy your clean and wonderfully smelling clothes, and remember that pretty is as pretty does!

McKenzie


Find the original recipes at: 

Laundry Detergent 
Fabric Softener 

August 7, 2012

DIY **Budget Friendly** Headboard


Since we got married, my husband and I have lived in a cute little farm house. It's a perfect first house (if you know what I mean). As with all houses it has several positives and several negatives. What it does have is tons of space, great hardwood throughout (original to the house), and a nice dining room/living room open floor plan. It also has a much bigger kitchen than what I had in my old apartment (Praise the Lord!). So I'll bet you are wondering what on earth could be bad about this house. Two words: wood paneling. There are only 2 1/2 non-painted wood paneled rooms, but those rooms are the bedrooms and half of the kitchen. This wood paneling isn't the good kind either. It is not a pretty white bead board or even a rustic looking wood wall. These look like the 1970's threw up on them. I'm talking That 70's Show wood walls. You can only imagine what a decorating nightmare that these walls have been, especially since our furniture is...well... wooden. 

It was a big problem in our bedroom especially since my grandparents gave us their beautiful bedroom furniture when they got new stuff. One thing we were missing was a headboard. Instead of buying a wooden one to match, I decided that maybe an upholstered headboard may draw some attention away from the woodenness of the room. I saw a ton of headboards I loved, but they were all too expensive.  My favorite was this one from Pottery Barn. 

Unfortunately, this Pottery Barn headboard totals to $774 + tax.

So, I did the only thing my budget would allow me to do. I (with my husband's help) made one. Here's how we made a super cheap headboard that looks almost professional. 


First, measure! My sweet man did this part for me. He is a bit of a perfectionist. Our headboard ended up being about 3 feet taller than where the mattress hits the wall (also it needed to go down about half the size of the mattress, just in case and about 1/2 inch longer on each side than the bed. 

We then went to Lowes to get a piece of plywood, staple gun, and staples. They will cut the board to length for you (for free). Then, we went to the only fabric store/craft store within a one hour radius, Wal-Mart. We looked at thick foam in the craft section but it would have cost around $75...TOO EXPENSIVE. We opted for foam bed toppers. Those cost us about $20 for two. They should have them out right now and maybe discounted for all of those college-bound students. We also got adhesive spray, thread, high loft batting, and buttons. This cost us about $40 total (including the foam toppers). Earlier that day, I took a visit to the thrift store Dirt Cheap where I found a really pretty sheet for $2. That's it!

At this point, the total for the headboard comes to about $75.00. Pretty good, huh? 

There are a ton of different instructional videos and posts about how to make your own headboard but none of them seemed as easy and efficient as possible. 

Step 1: Glue foam to pre-cut board using spray glue. 

Please excuse our messy guest room. It is where our boxes of things come to die.

Step 2: Cut foam to fit board. (I found that a rotary cutter works nicely.)
Good Enough. It doesn't have to be perfect.
Step 3: Cover the whole thing with batting, and staple. (Sorry, no picture.)

Step 4: Cover the batting covered headboard with the fabric of your choice (in my case, my
Dirt Cheap sheet), and staple the fabric on the top and both sides. LEAVE THE BOTTOM UNSTAPLED. Sorry, no picture again. It was pretty difficult to run the staple gun and the camera.               **Make sure you fold the corners the way you like them.**

Step 5: If you want to create tufts, staple those. It took both of us to do it, but it was well worth it. I held the fabric tight, and my husband stapled the fabric, foam, and all to the wood. Work row by row. Start with that will be your center tuft and work to the outside tufts. This will make sure you don't have too much fabric between the tufts and look funny. 

Step Six: Staple bottom of fabric to the back of the board. Pull as tight as you can!

Step Seven: To make the headboard look finished, you'll need to somehow put the buttons on. Since I didn't have a long enough needle, I glued the buttons on. I used tacky glue and put all over the backs of the buttons. Pushed them as into the staple as I could, and held the buttons in place with 4 tacks surrounding the buttons until they dried. 

I let the glue dry overnight, and the next morning we had a headboard! 


We secured it to wall by mounting the top with three picture hanging hooks, and used three screws where the headboard is below the mattress. It hasn't fallen on us yet. I'd say the two headboards are comparable, but you can't beat my total price of about $75 (especially when compared to over $700 for a similar headboard!).

That's all for today, y'all! 

Remember: pretty is as pretty does!

-McKenzie